

Table of Contents
- What You'll Need for Projector Headlight Installation
- Removing the Factory Headlight Assembly
- Opening the Housing and Separating the Lens
- Mounting the Projector Unit and Shroud
- Automotive Lighting Wiring Harness Installation
- Routing Power Controllers and Ballasts
- Headlight Beam Alignment Guide
- ADR Headlight Compliance Standards
- Frequently Asked Questions
Last Updated: September 23, 2026
What You'll Need for Projector Headlight Installation
Custom projector headlight assembly installation starts with the right tools, and missing even one item can stall the job halfway through.
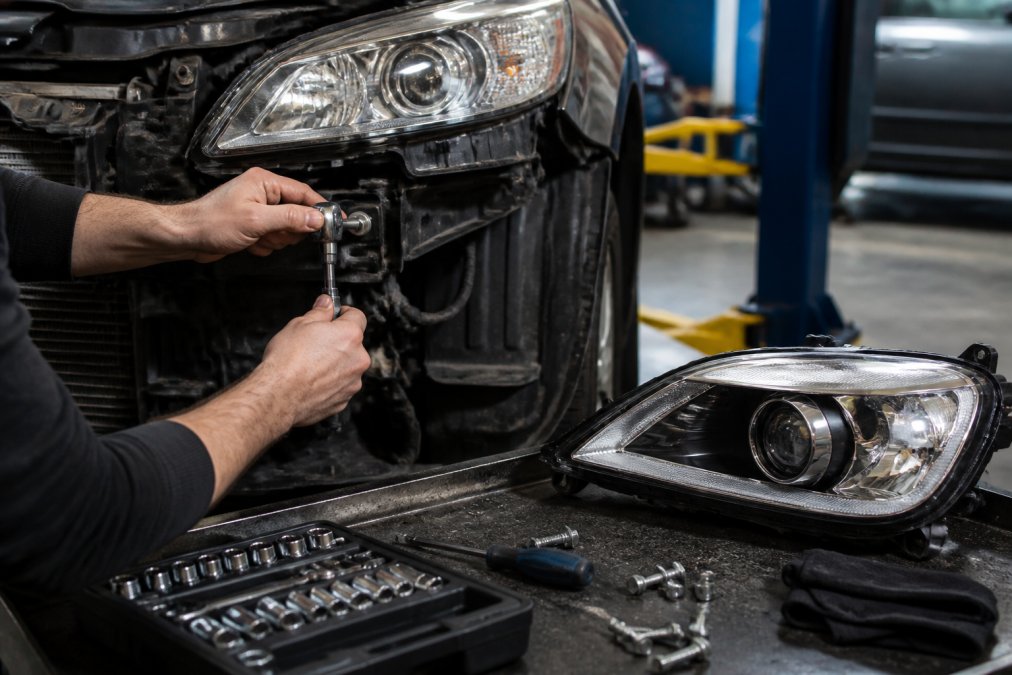
Gather these before you touch the car:
- Socket wrench set with 10mm and 12mm sockets
- Trim removal tools and a flathead screwdriver
- Heat gun or a household oven
- Butyl sealant and a small roller
- Wiring harness, relay harness and CANbus modules
- Zip ties, electrical tape and a multimeter
Removing the Factory Headlight Assembly
Removing the factory headlight assembly is a matter of patience, not force. Most modern bumpers hide two or three fasteners that must come out before the light will slide free.
Follow this order:
- Disconnect the negative battery terminal.
- Remove the bumper clips and any undertray screws.
- Unbolt the headlight mounting points, usually three per side.
- Unplug the factory connector and pull the unit forward.
Opening the Housing and Separating the Lens
Opening the housing means softening the factory sealant so the lens lifts away cleanly. Heat is the only reliable way to do it.
You have two options:
| Method | Temperature | Time | Best For |
|---|---|---|---|
| Oven | 90-110°C | 10-15 min | Full housing, even heat |
| Heat gun | 150-200°C at nozzle | 5-10 min per edge | Spot work, no oven access |
Mounting the Projector Unit and Shroud
Mounting the projector unit comes down to the mounting bracket and adjuster screws. Get the bracket seated squarely and everything else follows.
Check these before you close anything up:
- The projector sits level, not tilted
- The shroud clears the lens by a few millimetres
- Adjuster screws still turn freely
- No wiring is pinched between the projector and housing
Automotive Lighting Wiring Harness Installation
Automotive lighting wiring harness installation is where a clean build separates itself from a messy one. A proper harness uses a relay to draw power straight from the battery, not through the factory switchgear.
Here is the standard layout:
- Relay harness: one relay per beam, fused at the battery
- Grounding: short, direct runs to a bare metal point
- CANbus modules: inline on each low beam circuit to stop flicker and dash errors
- Connectors: soldered and heat-shrunk, never twisted and taped
Routing Power Controllers and Ballasts
Routing power controllers and ballasts is about heat and water, not looks. Both components run warm and both fail fast if they sit in a puddle.
VLAND LED Projector Headlights + D2H →
Points to watch:
- Never mount a ballast where it can be submerged
- Keep high-voltage leads away from sensor wiring
- Leave a small drip loop before each connector
- Label every lead before you tuck it away
Headlight Beam Alignment Guide
Headlight beam alignment is the step most owners skip, and it is the one that decides whether your upgrade is legal and safe. A projector throws a sharp cutoff line, so a small error becomes a glaring problem for oncoming drivers. The wall-grid method below is the same logic a workshop uses; the difference is that you are doing it with tape and a spirit level instead of a beam setter.
Set up the wall grid
- Park on level ground with the tyres at their normal pressures and the fuel tank roughly half full, so the ride height matches real driving.
- Position the car 5 metres square to a flat wall. Measure from each front wheel arch to the wall and adjust until both readings match.
- Bounce each corner of the car once and let it settle, this releases any stiction in the suspension.
- Find each headlight's horizontal centre and vertical centre on the wall. Mark them with masking tape as two crosses.
- Draw a horizontal line through both crosses. This is your reference line.
- Draw a second horizontal line 75mm below the first. This is your target cutoff line for low beam.
Read the cutoff
A projector cutoff is not a flat line. It has a horizontal section on the left and a step up on the right (for right-hand-drive vehicles), so you can light the shoulder without dazzling oncoming traffic.
- Low beam cutoff: the horizontal section should sit on or just below the 75mm line. If it sits above the reference line, you are aiming too high.
- Horizontal aim: the step-up (the "kink") should land slightly left of the headlight's vertical centre mark, not on it. Most guides say "slightly left" and stop there; a workable target is 50-75mm left of centre at 5 metres.
- High beam: the hotspot should be centred on the vertical mark and level with the reference line, not the 75mm line.
- Cutoff sharpness: the transition from light to dark should be crisp. A fuzzy or doubled cutoff means the projector is tilted in its bracket or the shroud is clipping the beam.
Adjust and re-check
A National Road Safety Action Plan frames why correct aim matters: a beam set too high blinds other drivers and defeats the purpose of the upgrade. If your cutoff cannot be made sharp no matter how you adjust, stop and re-seat the projector before you go any further, alignment cannot fix a mounting error.
ADR Headlight Compliance Standards
ADR headlight compliance standards decide whether your custom build is road-legal. In simple terms, any light you fit must meet the Australian Design Rules for your vehicle category, and the beam must not dazzle other road users. That sounds straightforward until you realise the ADRs govern the whole assembly, not just the bulb.
What the rules actually cover
The relevant ADRs deal with photometry (the beam pattern and its intensity at set points), colour, and the physical mounting of the lamp. For a retrofit, the practical test is whether the completed assembly still performs like the original approved lamp.
- Approved components: look for ECE or SAE approval marks on the housing, projector and bulbs. A mark on the box is not enough, it needs to be on the part.
- Beam pattern: must produce a defined cutoff with a step-up on the correct side for the vehicle's drive configuration, and no upward glare above the cutoff.
- Colour: headlights must stay within the permitted white range. Very blue or purple output is a common reason for a defect notice.
- Fitment: lights must be securely mounted, correctly aimed, and not protrude or sit outside the body line.
- Function: high beam, low beam and parkers must all work from the factory switchgear, and any automatic levelling or self-levelling system must still function if the vehicle was built with one.
How a roadworthy inspection treats a retrofit
An inspector is not comparing your car to a catalogue. They are checking that the lights work, that the beam is aimed correctly, that the colour is within range, and that nothing about the installation is unsafe, loose wiring, unsealed housings, or ballasts hanging by a cable tie will all attract attention.
- Beam too high or scattered, usually a projector that is not seated squarely, or a shroud clipping the beam.
- Wrong colour temperature, 6000K and above often reads as blue and can fail the colour check.
- Moisture inside the housing, a poor reseal is treated as a defect because it affects beam output and can short the electrics.
- Warning lights or flicker, a CANbus error is not just annoying; it can indicate the vehicle's monitoring system no longer recognises the lamp.
- Non-reversible wiring, cutting factory looms can fail an inspection if the original function cannot be restored.
Check your state's rules before you fit anything
Road vehicle standards are enforced at state and territory level, and the detail varies. Some jurisdictions require an engineering certificate for certain lighting modifications; others simply apply the ADRs through the roadworthy process. The VicRoads vehicle standards information sheet is a useful starting point for how one state frames lighting changes, but confirm the current requirements for your own state or territory before you buy parts.
Frequently Asked Questions
How to make custom projector headlights?
You can build custom projector headlights by baking the headlight housing to soften the sealant, separating the lens, and mounting a projector unit inside. Then wire a relay harness and ballast, seal with butyl, and align the beam. For a simpler route, plug-and-play assemblies like VLAND LED projector headlights for the 2008-2017 Mitsubishi Lancer ($649) include everything needed and are DOT and SAE approved.
How much does labor cost to install a headlight assembly?
If you choose a plug-and-play assembly such as the VLAND Demon Eye Projector Headlights for Mitsubishi Lancer EVO X ($599), you can install them yourself with basic hand tools. Always confirm compatibility with your specific model before purchasing.
Is it better to buy a pre-assembled unit or retrofit my own headlights?
A pre-assembled unit is usually the better choice for most drivers. It eliminates the risks of baking, cutting, and sealing, and often comes with a warranty. For example, Autoglo Australia Full LED Headlights for Mitsubishi Lancer EVO X ($650) include demon eyes DRL, sequential turn signals, and start-up animation, all as a direct replacement. Retrofitting your own lights makes sense only if you want a fully custom look and have prior experience.
Do I need to modify my vehicle's wiring harness for projector upgrades?
Not always. Many modern projector headlights are designed as plug-and-play, using your factory connectors. The VLAND LED Projector Headlights for Mitsubishi Lancer ($649) connect directly to the factory harness with no cutting or splicing. If your new lights draw more power, you may need a relay harness to handle the electrical load and prevent flicker. Always check the product description for wiring requirements.